Last updated: March 18, 2024
Mountain bikes are exactly the same as they were 20 years ago, right? Of course not! So, the setup on your old bike might not match your new modern mountain bike. Here, we'll focus on positioning the handlebars, brake levers, and shifters. These components, along with the stem, make up your bike's cockpit. This article is a great starting point for setting up the cockpit of your new bike.
Stem Setup
Where your stem is mounted on the steer tube directly impacts your bike's handling. This measurement, also called stack height, significantly affects traction while cornering during descents and climbs.
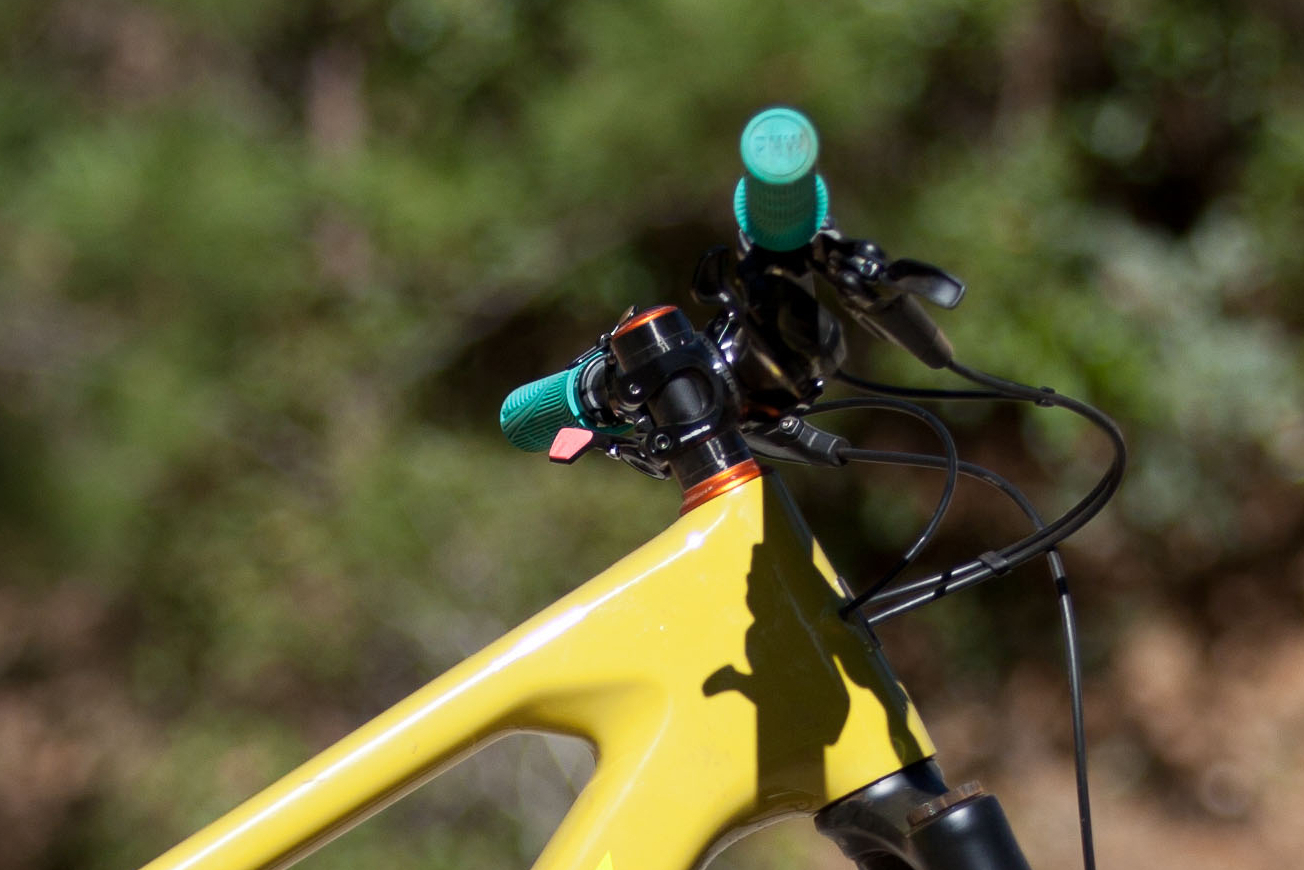
In our example image above, we have a XL Santa Cruz, with 15mm of spacers below the stem, and the remaining spacers on top of the stem are all there purely to take up the remaining space as the steerer tube has not been trimmed.
While the final position you end up with will be informed primarily by personal preference, below are some recommended starting points:
- XS and Small: 5mm spacer below stem
- MD: 10mm
- LG: 15mm
- XL: 20mm
- XXL: 30mm
These recommendations provide a good starting point, considering personal preferences. However, experimenting with different positions can also be beneficial. It's important to note that running the stem all the way at the top of the steerer tube may shift your weight distribution rearwards, particularly on smaller bikes, leading to a loss of front tire traction. One exception to these recommendations might be a cross-country race bike, where a lower position is typically preferred for a more aggressive and aerodynamic stance. We recommend a position at least 5-10mm lower than the above numbers for such bikes.
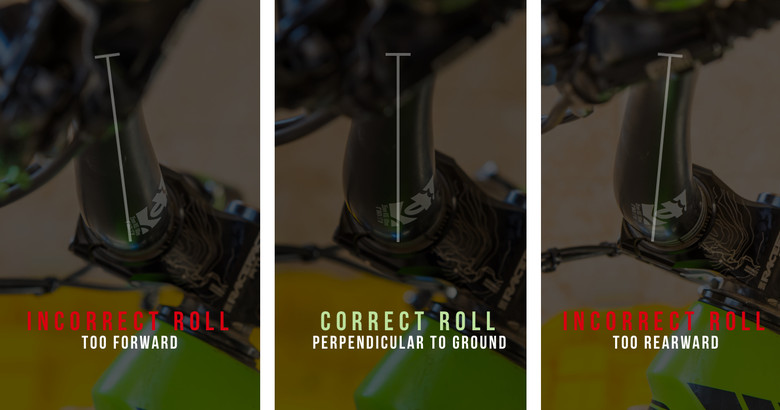
Handlebar Roll
Most bars have back sweep, and if they’re a riser bar, upsweep. The middle section of the bar where the stem clamps onto it and where the taper from the clamp section to where the controls are mounted should be roughly perpendicular to the ground, as shown below.
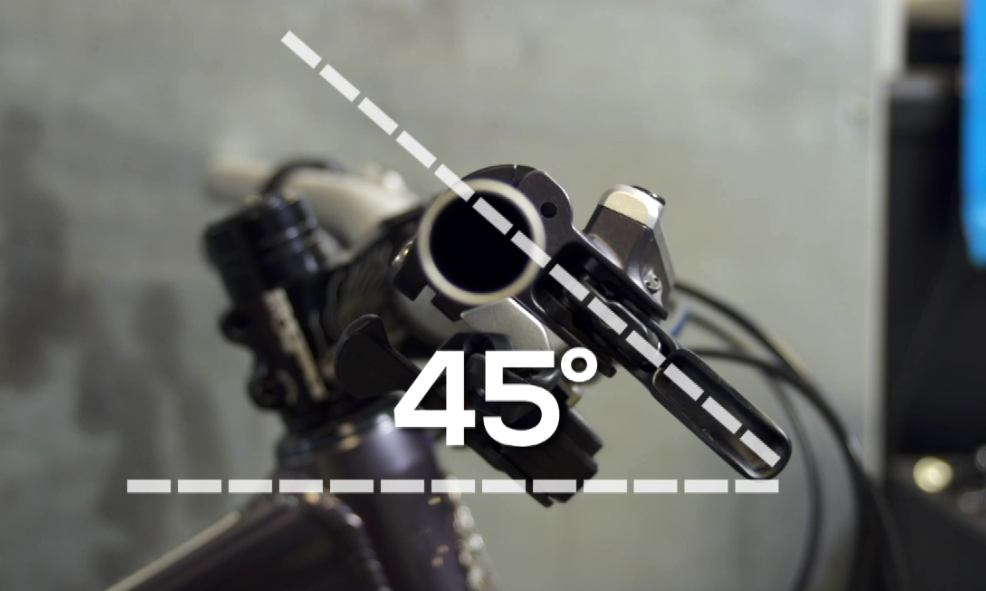
Controls
Setting up the locations of the brake levers, shifter, and dropper post involves a lot of personal preference. Generally speaking, a good rule of thumb is to start by setting up the brake levers, and having them roughly 40-45 degrees from horizontal (see below). Then, set up the shifter and dropper post lever (if equipped) to fall in a comfortable position for your thumbs to hit without needing to move your hands from where you’re holding the grips.
There is room for some adjustment on the bars to slide the controls closer or farther away from the grips, but for most people, they'll end up within 1" of the grip. It will depend a bit on the brakes you have on your bike, but generally, they should be in a position where you can grab the lever with at least your pointer finger, and when the lever is pulled as far as it will go, it shouldn't hit your other fingers.
Hopefully, this guide will have helped you get your bike setup in a comfortable place to start while you get used to it. Please note that you should always use the proper tool for the job and always remember to make sure you're torquing bolts down to the recommended specification per the manufacturer.
Still Need Help?
Have additional questions for us on servicing your bike or anything maintenance related, need a recommendation on a tool, cleaner, or lube? Feel free to email us at info@mikesbikes.com or call us at 866-600-2453. We’re always here to help!